What is DIY Kitchen Decor?
DIY kitchen decor is the practice of personalizing and enhancing your kitchen space through do-it-yourself projects. It encompasses a wide range of activities, from creating functional items like storage solutions to crafting decorative pieces that reflect your personal style. Embracing DIY in your kitchen can be a cost-effective way to refresh your space, add unique touches, and make the heart of your home a more inviting and enjoyable area. The beauty of DIY kitchen decor lies in its flexibility, allowing you to adapt projects to your specific needs, tastes, and the available time you have to dedicate to the task. Explore different ideas, from simple upgrades to more elaborate renovations, to make your kitchen truly your own.
Why Choose Quick DIY Kitchen Decor?
Choosing quick DIY kitchen decor offers several advantages, especially for those with busy schedules or a desire for immediate results. One of the primary benefits is the time-saving aspect; these projects can often be completed in under 5 minutes, allowing you to transform your kitchen without a significant time commitment. This is ideal for renters who may not be able to make permanent changes, or anyone looking to add a fresh look to their space without a lengthy project. Furthermore, quick DIY projects often require minimal supplies, many of which you may already have on hand, making them budget-friendly. The ease of execution also boosts your confidence and inspires you to try more creative ideas, promoting a more personalized and inviting kitchen environment. Quick DIY projects are also great for adding seasonal touches, allowing you to easily update your decor throughout the year.
Top 5 DIY Kitchen Decor Quick Crafts

Here are five fantastic quick DIY kitchen decor crafts that will instantly elevate your kitchen’s aesthetic appeal. These projects are designed to be fast, easy, and require minimal effort, perfect for anyone looking to add a personal touch to their kitchen without a major time investment. From repurposing everyday items to creating useful and decorative pieces, these ideas are sure to inspire your next kitchen makeover. Get ready to transform your kitchen with these simple yet effective DIY projects.
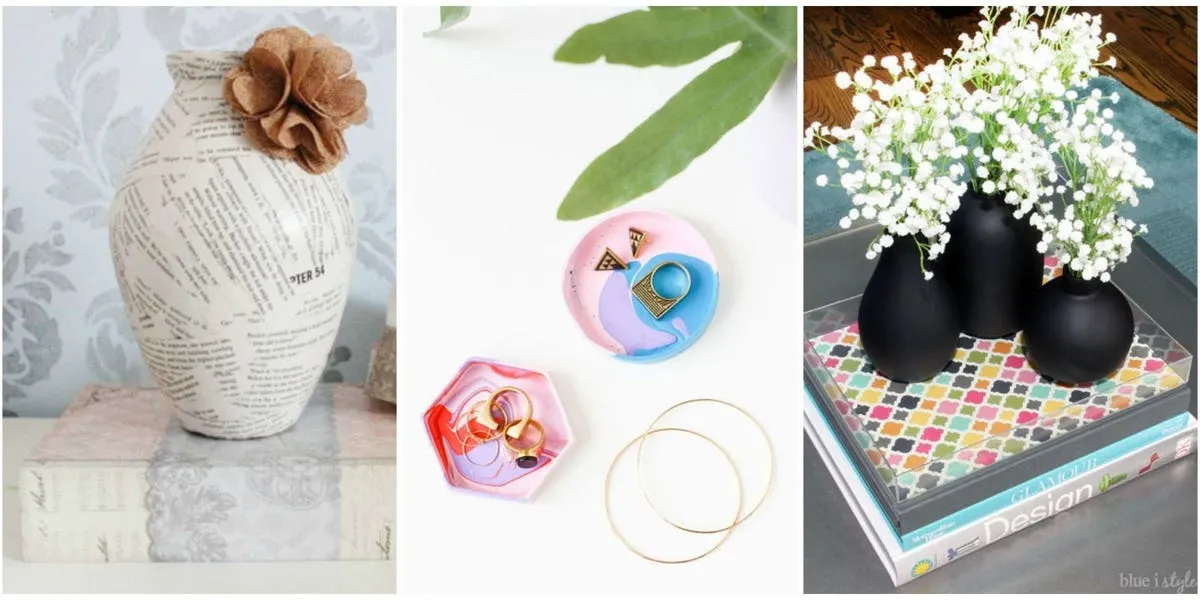
Craft 1 Upcycled Mason Jar Vases
Upcycling mason jars into decorative vases is a charming way to add a rustic or farmhouse touch to your kitchen. This craft not only provides a stylish element to your space, but it’s also an eco-friendly choice, repurposing items that might otherwise be discarded. The versatility of mason jars allows you to adapt the look to match your kitchen’s style, whether it’s through paint, twine, or decorative accents. These vases are perfect for displaying fresh flowers, herbs, or even kitchen utensils, adding a touch of natural beauty and functionality.
Materials Needed for Mason Jar Vases
To create mason jar vases, you will need a few basic materials. First, of course, are the mason jars themselves, which can be new or repurposed. You can also use acrylic paint in your preferred colors, as well as paintbrushes, to add color to the jars. To add a rustic touch, consider using twine or jute. Decorative elements such as ribbons, burlap, or stencils can further customize your vases. You may also want to use a hot glue gun and glue sticks for attaching decorative elements.
Steps to Create Mason Jar Vases

The process of creating mason jar vases is simple and quick. Begin by cleaning and drying your mason jars thoroughly. If you plan to paint the jars, apply a base coat of paint and let it dry completely. Next, add any additional layers of paint or decorative details, allowing each layer to dry before adding the next. If you’re using twine, wrap it around the jar, securing it with hot glue. Finally, add any finishing touches, such as ribbons or decorative accents. These easy steps will transform plain mason jars into charming vases, perfect for your kitchen.
Craft 2 Quick Chalkboard Labels
Chalkboard labels are a practical and stylish addition to any kitchen, especially for organizing pantry items, spice jars, or storage containers. These labels provide a customizable and reusable way to keep your kitchen organized, making it easier to identify ingredients and items at a glance. They also add a touch of elegance to your kitchen decor, creating a cohesive and well-organized look. This project is incredibly versatile, allowing you to adapt the labels to any shape, size, and style that suits your needs and tastes.
Materials for Chalkboard Labels
Creating chalkboard labels requires only a few readily available materials. You will need chalkboard vinyl or chalkboard paint, which you can find at most craft stores. If using vinyl, you’ll also need scissors or a cutting machine to cut out the labels in the desired shapes. If you are using chalkboard paint, you will need small paintbrushes or sponges. For writing on the labels, chalk markers or regular chalk work well. Additionally, you might need some adhesive, such as double-sided tape or hot glue, to attach the labels to your containers.
Creating Chalkboard Labels Guide

The process of making chalkboard labels is straightforward. If you’re using chalkboard vinyl, cut out shapes, and then adhere them to your containers. If you are using chalkboard paint, apply a thin coat to your chosen surface, let it dry, and then apply a second coat. Once the paint or vinyl is dry, use a chalk marker or regular chalk to write the contents of the container on the label. Erase and rewrite as needed. Attach the labels to your containers. And there you have it simple, stylish, and reusable labels to enhance your kitchen organization.
Craft 3 DIY Kitchen Herb Garden
A DIY kitchen herb garden brings fresh herbs directly to your fingertips, adding both functionality and beauty to your kitchen. This project is perfect for small spaces and can be customized to match your kitchen’s design. Fresh herbs not only enhance your cooking but also infuse your kitchen with refreshing aromas and vibrant greenery. This DIY project is ideal for anyone seeking to add a touch of nature to their cooking space.
Materials Required for Herb Garden
Creating a kitchen herb garden requires a few essential materials. You will need small pots or containers for planting your herbs; these could be anything from repurposed jars to attractive ceramic pots. Potting soil specifically formulated for herbs is necessary, as well as the herbs you want to grow from seeds or starter plants. Consider also including decorative elements like plant markers or labels to identify the herbs. Finally, you may need a tray or a small container to house the herbs, which will help contain any spills and add an aesthetic touch to your kitchen.
Herb Garden Building Steps

Constructing a kitchen herb garden is a simple process. Start by preparing your pots, either by cleaning them or by adding any decorative touches. Fill each pot with potting soil and gently plant your herb seeds or starter plants, following the instructions on the seed packets. Place the pots in a sunny location in your kitchen, ensuring they receive adequate light. Water the herbs regularly and add plant markers. With minimal effort, you’ll have a lovely herb garden adding both freshness and convenience to your cooking routine.
Craft 4 Decorative Kitchen Utensil Holders
Decorative kitchen utensil holders combine functionality with style, adding a touch of personality to your kitchen countertops. These holders not only keep your cooking utensils organized but also serve as decorative elements, complementing your kitchen’s aesthetic. They can be customized to match any style, from rustic to modern, allowing you to create a cohesive look throughout your kitchen. Creating personalized utensil holders is an easy way to add charm and practicality to your cooking space.
Utensil Holder Materials
To create a decorative utensil holder, you’ll need a few key materials. Consider using a repurposed container, such as a mason jar, tin can, or decorative pot. You may also need paint, either acrylic or spray paint, in your desired colors, along with paintbrushes or sponges. Decorative elements like twine, ribbons, beads, or stencils can add character to your utensil holder. A hot glue gun and glue sticks are useful for attaching decorative components, and you might also need a sealant to protect the finish.
Utensil Holder Creation Steps

The creation of a decorative utensil holder is straightforward. Start by cleaning and preparing your chosen container. If you’re painting, apply a base coat and let it dry. Then, add any decorative elements, such as twine, ribbons, or stenciled designs, securing them with hot glue. Once the paint and decorations are in place and dry, you can apply a sealant to protect the finish. Let the finished holder dry completely, then fill it with your favorite kitchen utensils. You now have a functional and beautiful utensil holder.
Craft 5 Colorful Kitchen Magnet DIYs
Colorful kitchen magnets are a fun and easy way to personalize your refrigerator and add a splash of color to your kitchen. These magnets can be crafted to match any theme or color scheme, offering a simple yet effective way to decorate your kitchen space. They are perfect for displaying notes, photos, or important reminders, making your kitchen both functional and visually appealing. Creating custom magnets is a quick project that adds a personal touch to the heart of your home.
Materials for Kitchen Magnets
Creating colorful kitchen magnets requires a few simple materials. You will need small magnets with an adhesive backing. You can purchase these separately or repurpose magnets from old items. For decorating the magnets, you can use a variety of materials, such as small decorative buttons, beads, fabric scraps, polymer clay, or even photos. You may also need scissors, glue, or a hot glue gun and glue sticks to attach the decorative elements. Consider including sealant to protect the magnets.
Making Colorful Kitchen Magnets

Making colorful kitchen magnets is a quick and easy process. First, gather your chosen decorative materials and magnets. Attach the decorative elements to the magnet backing using glue or hot glue. If you’re using photos or fabric, cut them to fit the size of the magnet. Allow the glue to dry completely. For extra durability, you can apply a layer of sealant to protect the magnets. These are your new personalized magnets to organize your kitchen.
Conclusion on DIY Kitchen Decor
DIY kitchen decor provides a fantastic way to personalize your kitchen space. Whether you opt for quick, 5-minute crafts or more extensive projects, the ability to add your unique style and functionality is unmatched. The five crafts discussed in this guide, from upcycled mason jar vases to colorful magnets, are all excellent starting points. Embrace the opportunity to create, customize, and elevate your kitchen’s ambiance. With a little creativity and time, your kitchen will become a reflection of your personal style and a warm, inviting space for cooking, entertaining, and everyday living. Remember to have fun, experiment with different ideas, and let your creativity shine.